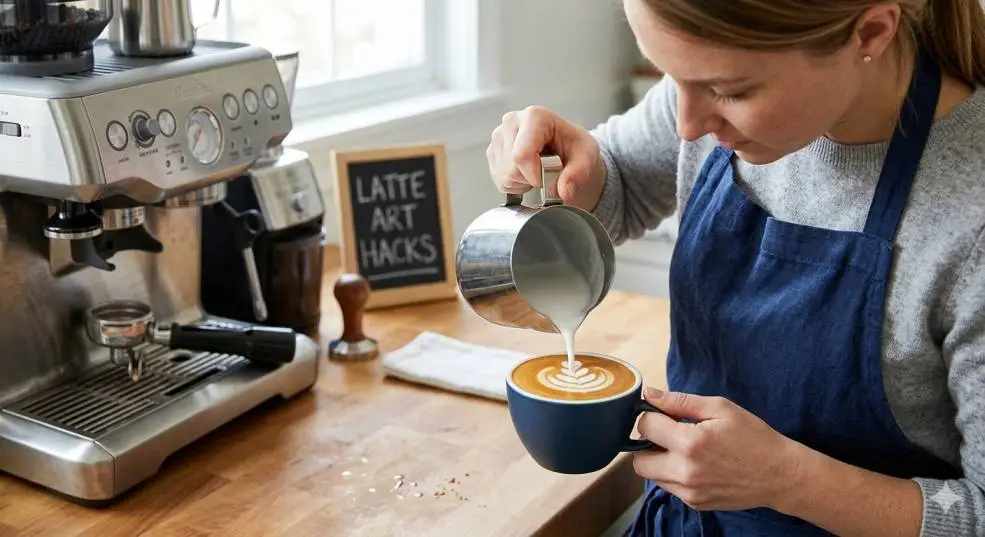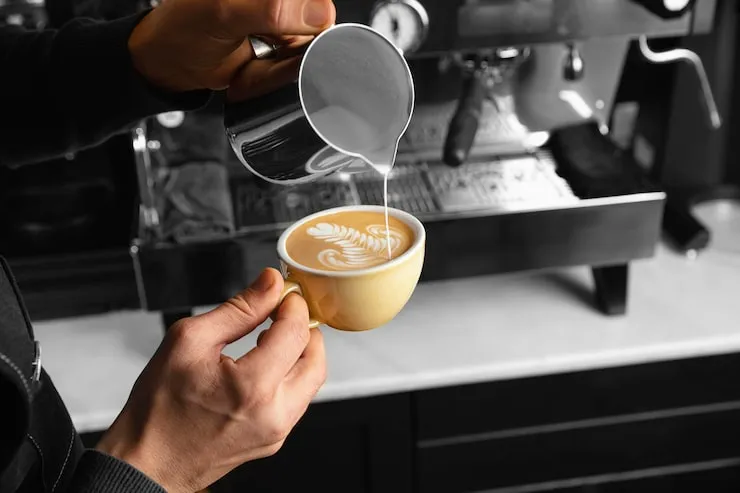

I still remember my first attempt at latte art. I had a basic coffee maker, a cheap milk frother, and way too much confidence. The result was not a beautiful rosetta or even a heart. It was a sad white blob floating in brown water. I felt defeated.
But here is the thing. You do not need a professional espresso machine to pour decent latte art. The principles are the same whether you are using a $5,000 machine or a French press. You need a good base, properly textured milk, and practice.
The Base Problem: You Need Something to Contrast
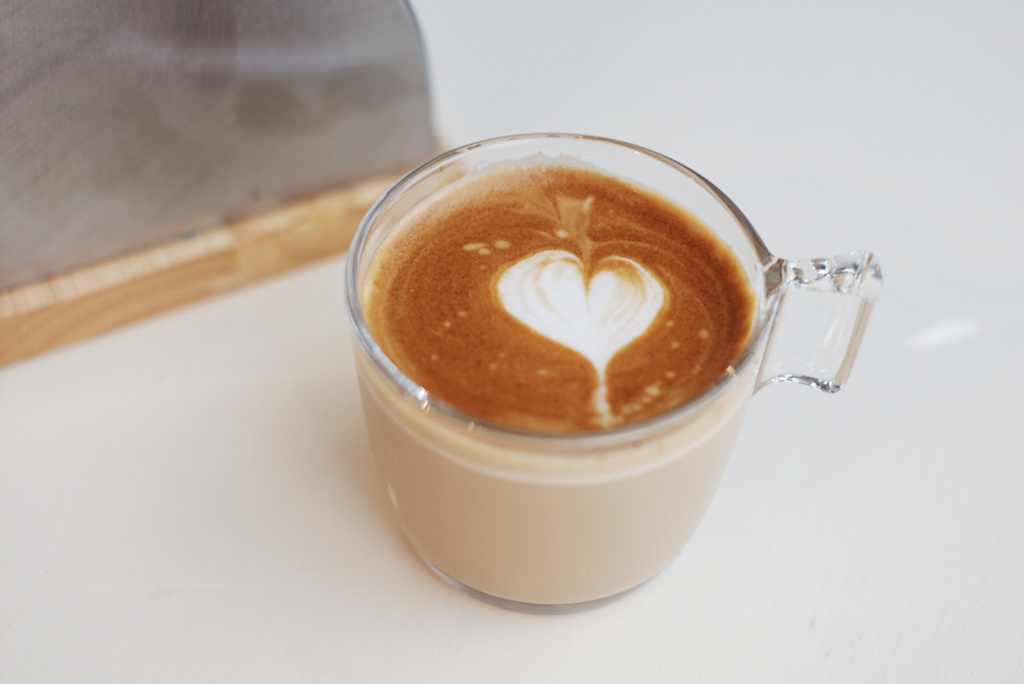
Latte art works because of crema. That golden, foamy layer on top of a fresh espresso shot creates the dark canvas. The white milk sits on top of it. That is what gives you the contrast.
Read Also: Premium Coffee Art Stencils for Espresso: 10-Piece Professional Barista Template Set
Most home coffee makers do not produce crema. A drip machine just drips water through grounds. You get coffee, but no crema. So you need a workaround.
Instant espresso works in a pinch. It gives you a dark liquid. It will not give you real crema, but it is dark enough to practice.
A moka pot is a better option. It produces strong coffee with a thin layer of foam. It is not real crema, but it is close.
Cold brew concentrate is another choice. It is thick and dark. It gives you a decent canvas for pouring.
Chocolate milk is a classic hack. It is brown and thick. You can pour steamed white milk over it. The contrast looks similar to a real coffee canvas.
Soy sauce works too. It is dark and thick. It behaves like an espresso base. I have used it for practice. It is cheap and does not waste coffee.
The Milk: Frothing Without a Steam Wand
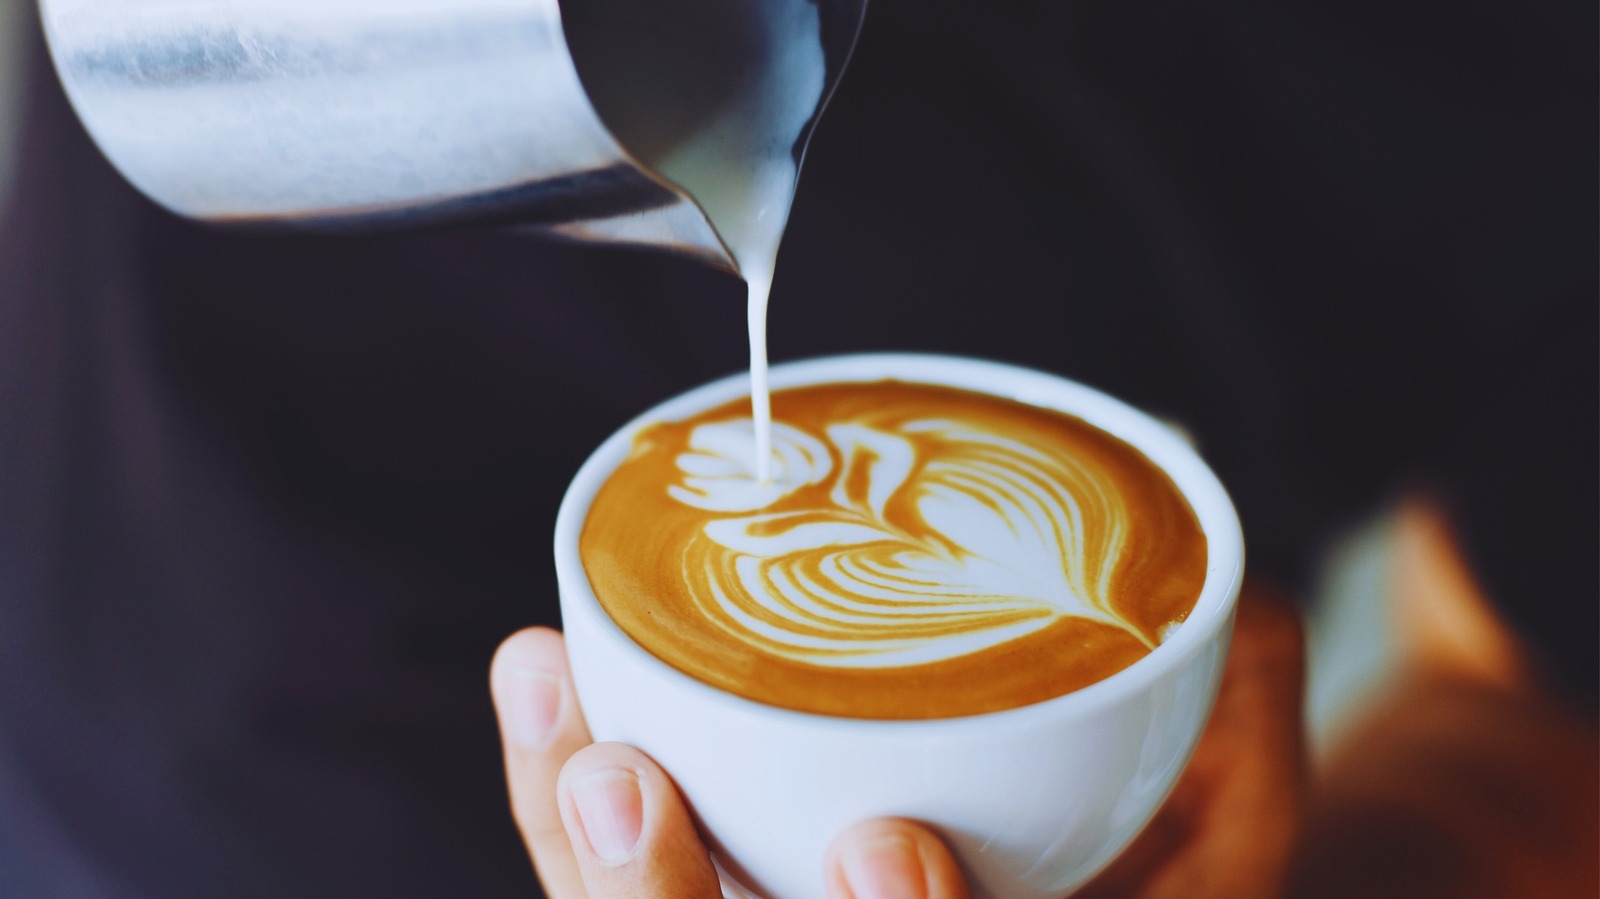
You cannot pour latte art without properly textured milk. The microfoam needs to be smooth and glossy. No large bubbles. Here is how to achieve that without a machine.
The French Press Method
This is my go-to. It is cheap and effective.
Heat milk to about 65°C. Do not let it boil. Pour it into a French press. Fill it about one-third full. Pump the plunger up and down rapidly for about 30 seconds. The milk will double in volume. Tap the jug on the counter to pop large bubbles. Swirl it gently to combine the foam and liquid.
The Handheld Frother Method
A battery-powered frother costs about $10. It works well enough.
Heat the milk to 60°C. Submerge the frother and turn it on. Keep it just below the surface to incorporate air. Once the milk doubles in volume, lower the frother to mix the foam. Tap and swirl to remove large bubbles.
The Jar Method
This is the simplest. Pour hot milk into a lidded jar. Fill it halfway. Secure the lid. Shake vigorously for 30 to 60 seconds. The milk should double in volume. Microwave it for 30 seconds to stabilize the foam.
Practice Without Wasting Coffee
This is a common frustration. Pouring latte art requires a lot of practice. Using real coffee every time is expensive and wasteful.
Chocolate milk is the best practice tool. Pour chocolate milk into your cup. Steam some regular milk. Try to pour a simple heart. The white milk will sit on top of the brown chocolate milk. You get the same visual feedback.
You Must Also Like: How to Steam Milk for Latte Art in 5 Minutes or Less?
Soy sauce works well. It is dark and thick. Pour a small amount into a cup. Froth some milk. Pour the milk over the soy sauce. It should create a pattern.
Strong black tea is another option. Brew a cup and let it steep for a long time. The dark liquid provides the contrast.
Instant coffee is fine. You are just practicing the pour. It does not need to taste good.
The Pouring Technique: Step by Step
Start with a simple heart. It is the easiest pattern to learn.
Tilt the cup towards yourself. This helps the milk flow gently over the surface. Start pouring from a height of about 4 to 5 inches. Pour in a steady stream. This pushes the coffee down and creates a base.
As the cup fills, bring the pitcher closer to the surface. The spout should almost touch the coffee. Pour faster. The milk should push the crema to the edges. A dot will form. Lift the pitcher. Pour a thin stream through the middle of the dot. That creates the heart shape.
What Goes Wrong and How to Fix It?
The milk sinks to the bottom. This means your milk is too thin. You need more foam. Aerate it longer next time.
Large bubbles in the milk. You over-aerated. Tap the jug on the counter. Let it sit for a few seconds.
No contrast. Your base liquid is not dark enough. Use instant espresso or chocolate milk.
The design looks messy. You are pouring too fast. Slow down. Keep the pitcher close to the cup.
You cannot see the pattern. Your milk is too thick. It should be glossy and fluid. Stiff foam will not pour smoothly.
The Honest Truth About Cheap Tools
French press: Best budget option. Costs about $20. Produces decent microfoam.
Handheld frother: Costs about $10. It works, but the foam is inconsistent.
Moka pot: Costs about $30. Produces strong coffee with a crema-like layer.
Instant espresso: Costs about $5. Tastes terrible, but works for practice.
Do not buy a cheap espresso machine. The ones under $100 do not work well. They do not produce enough pressure. They do not produce real crema. Save your money.
What You Actually Need to Get Started?
-
A mug or cup
-
A French press or frother
-
Milk
-
Instant espresso or chocolate milk
-
A spoon
-
Patience
You do not need fancy equipment. You need practice.
Final Thoughts
You can learn to pour latte art without an espresso machine. It takes time and patience. But it is possible. Focus on the milk texture first. That is the most important part. Practice with chocolate milk or soy sauce. It saves you money and lets you experiment without pressure.
The first time you pour a clean heart, you will feel like a real barista. And you did it without spending thousands of dollars. That is a good feeling. Keep practicing.