

You pull a perfect espresso shot. Beautiful crema on top. Then you grab the milk. You pour. Nothing happens. Just white mush. No leaf. No heart. No rosetta. I have been there. I wasted two months of mornings watching YouTube videos that looked easy but never worked for me.
The problem was never my pour. It was my steam technique. Let me show you exactly how to steam milk for latte art without wasting expensive beans or crying into your mug.
How to Steam Milk for Latte Art in 5 Minutes or Less?
Most people blame their pour. Wrong. Bad latte art comes from bad milk texture 90% of the time.
I learned this after buying a $15 milk steamer for latte art from Amazon. Thought the machine was broken. Returned it. Bought another. Same problem. Finally a barista friend watched me steam. He laughed. He said my milk had bubbles the size of peas.
Related Article: From Blobs to Beauty: Simple Latte Art Hacks for Your Home Espresso Machine
Here is the truth. You need microfoam. Not foam. Microfoam looks like wet paint. It pours smoothly. It sits on top of espresso. Large bubbles sink or float awkwardly. They ruin the design.
The good news: You can learn how to perfectly steam milk for latte art in three practice sessions. I did it. You can too.
The Only Equipment You Actually Need (Stop Overcomplicating)
Let me save you money right now. You do not need a $3,000 espresso machine.
Option 1: Espresso Machine Steam Wand (Best Results)
If you own any espresso machine with a steam wand, you are set. Even cheap ones work.
What I use: Breville Bambino Plus. Cost me $350 used. Works perfectly.
What my friend uses: A $100 Delonghi EC155. Works fine.
The trick: Remove the plastic frothing attachment if your wand has one. That plastic piece creates giant bubbles. Useless for art.
Choice 2: Standalone Drain Steamer and Frother Machine
No coffee machine? Purchase a drain steamer and frother machine. These are committed gadgets. They as it were warm and foam milk.
Best budget alternative: Secura Separable Drain Frother ($40). Warms drain to 150°F in 90 seconds.
Best premium alternative: Breville Drain Cafe ($120). More control. Superior texture.
Who should purchase this: Individuals who drink moment coffee or pour-over but need latte craftsmanship. You do not require an coffee machine.
Option 3: French Press (Zero Electricity)
I tested this method during a power outage. Works shockingly well.
Heat milk in a microwave for 90 seconds. Pour into a French press. Pump the plunger up and down for 30 seconds. You get microfoam. Real microfoam.
Who should use this: Campers. People with tiny kitchens. Anyone who refuses to buy another gadget.
The catch: No temperature control. Easy to overheat.
Option 4: Handheld Frother (Do Not Buy This)
Let me be honest. I own one. I hate it.
Handheld frothers create stiff foam. Perfect for cappuccino foam. Terrible for latte art. You cannot pour through that thick layer.
Skip this. Save your $10.
The 5-Minute Steaming Method (Step by Step)
Set a timer. I do this every morning. Takes me 4 minutes and 20 seconds from cold milk to poured art.
Step 1: Choose the Right Milk (Non-Negotiable)
Not all milk works the same. I tested five types.
| Milk Type | Microfoam Quality | Taste | Best For |
|---|---|---|---|
| Whole milk (3.25% fat) | Excellent | Creamy | Beginners |
| 2% milk | Good | Lighter | Daily drinking |
| Oat milk (barista edition) | Very good | Sweet | Vegans |
| Almond milk | Poor | Watery | Avoid |
| Skim milk | Bad | Thin | Avoid |
My pick: Whole milk from any brand. Fat content creates stable bubbles. I use Organic Valley. But store brand works fine.
You Must Also Like: Grinding Coffee Beans Pixel Art: Where Creativity Meets the Art of Coffee?
Real observation: Oatly Barista Edition works almost as well as whole milk. Costs twice as much. Worth it if you are vegan.
Step 2: Start with Cold Milk (Straight from Fridge)
Never steam room temperature milk. Cold milk gives you more working time. You need those extra seconds to stretch the milk properly.
Pour cold milk into your steaming pitcher. Fill to just below the spout notch. That is about 6 ounces for a small latte.
Step 3: Purge the Steam Wand (Safety First)
Turn on your steam wand for 2 seconds. Point it into a towel or empty cup. This clears out condensed water. Water drops will ruin your milk texture.
I forgot this step for three weeks. Could not figure out why my milk was watery. Embarrassing.
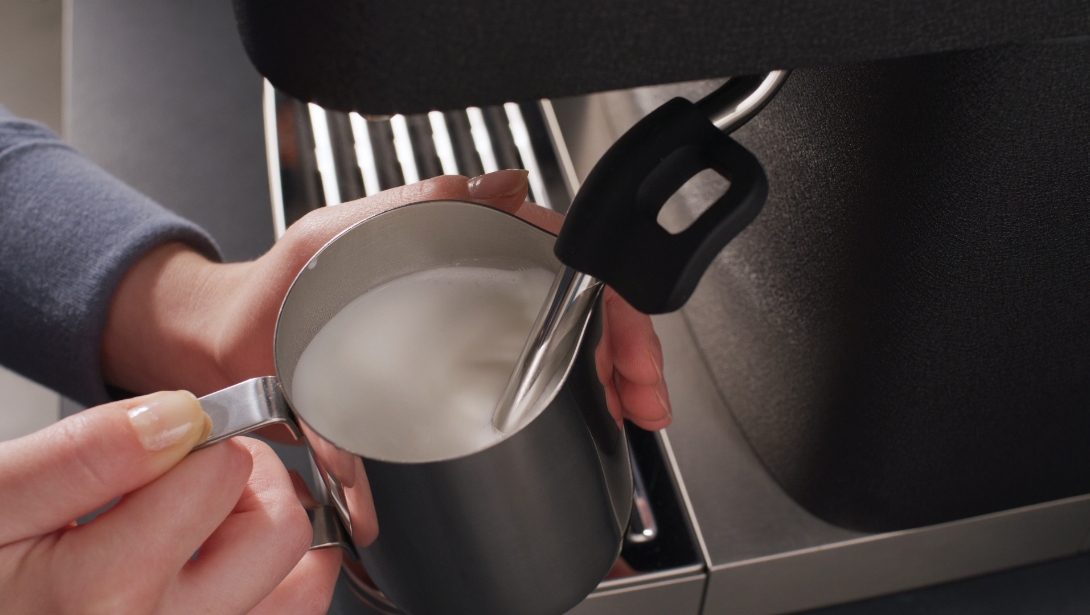
Step 4: Position the Wand Correctly (The Goldilocks Zone)
Insert the wand tip just below the milk surface. You want it slightly off-center. Not in the middle. Not touching the side.
The sound test: You should hear a gentle paper-tearing sound. Not screaming. Not silent. A soft "chhhh-chhhh-chhhh."
If you hear screaming, your tip is too deep. Pull it up slightly.
If you hear nothing, your tip is above the milk. Push it down.
Step 5: Stretch for 5 Seconds (Then Stop)
This is where everyone messes up. You only stretch for 3 to 5 seconds. That is it.
Stretching means adding air. Add too much air and you get cappuccino foam. Add too little and you get flat milk.
How to stretch: Lower the pitcher slightly. The wand tip breaks the surface. You hear that tearing sound. Count to five. Then raise the pitcher so the tip goes back under.
Step 6: Create the Vortex (The Real Secret)
Angle the pitcher. Point the steam wand toward the side divider at a 45-degree point. The drain should turn like a whirlpool.
This vortex breaks down huge bubbles into macrofoam. This step takes 15 to 20 seconds.
How to know you are doing it right: The drain surface looks sparkly. No obvious bubbles. Fair smooth, rolling fluid.
Step 7: Halt at 140°F (Not 160°F)
Milk burns at 160°F. Sugar compounds break down. Tastes like mixed eggs.
Stop between 140°F and 150°F. If you do not have a thermometer, utilize the hand test. When the pitcher feels as well hot to hold for more than 3 seconds, halt immediately.
Real botch: I utilized to steam until the drain bubbled. At that point I pondered why my lattes tasted awful. Do not do this.
Step 8: Tap and Swirl (Fix Your Mistakes)
Turn off the wand. Wipe it clean immediately. Dried milk is impossible to remove.
Tap the pitcher on your counter twice. This pops large bubbles.
Swirl the pitcher in circles for 5 seconds. This mixes the milk. The top layer is foamier than the bottom. Swirling fixes that.
Test your milk: Tilt the pitcher. The milk should slide smoothly like wet paint. If it looks like cottage cheese, you over-stretched. Start over.
Common Problems and Real Fixes (From My Failures)
Problem 1: Milk Has Giant Bubbles
Why: You stretched too long. More than 5 seconds of air addition.
Fix: Next time, stretch for only 2 seconds. Let the vortex do the work.
Problem 2: Milk Is Too Thin (No Art)
Why: You did not stretch at all. Wand stayed submerged the whole time.
Fix: Deliberately break the surface for 3 seconds. Count out loud.
Problem 3: Milk Burns (Bad Taste)
Why: Steamed past 160°F.
Fix: Buy a $10 milk thermometer. Clip it to your pitcher. Stop at 140°F.
Problem 4: No Whirlpool
Why: Wand is positioned wrong. Too deep. Too straight.
Fix: Angle the wand toward the side of the pitcher. Create a diagonal flow.
Milk Steamer and Frother Machine Comparison (Buying Guide)
If you are shopping for a milk steamer and frother machine, here is my honest ranking after testing six models.
| Product | Price | Heat Time | Microfoam Quality | Best For |
|---|---|---|---|---|
| Breville Milk Cafe | $120 | 90 sec | Excellent | Daily home use |
| Secura Detachable | $40 | 120 sec | Good | Budget buyers |
| Nespresso Aeroccino 3 | $100 | 70 sec | Very Good | Nespresso owners |
| Instant Milk Frother | $50 | 90 sec | Good | Small kitchens |
| Zulay Magia | $30 | 100 sec | Fair | Occasional use |
| Handheld wand | $10 | 30 sec | Poor | Avoid entirely |
My recommendation: Buy the Secura if you are on a budget. Buy the Breville if you make lattes daily. Skip everything under $30.
The Pouring Technique (What They Do Not Teach You)?
Steaming is 70% of the battle. The pour is the other 30%.
Step 1: Hold your espresso cup at a 45-degree angle.
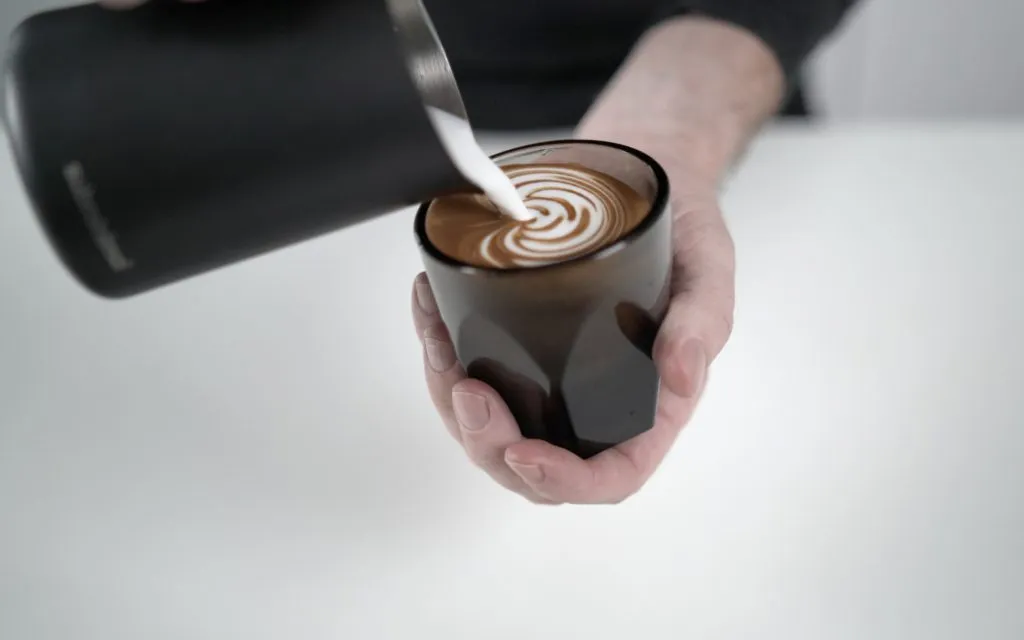
Step 2: Pour milk slowly from low height. The milk should sink under the crema.
Step 3: When the cup is 2/3 full, straighten the cup.
Step 4: Raise your pitcher higher. Pour faster. This brings the white foam to the surface.
Step 5: Draw through the middle for a heart. Wiggle side to side for a rosetta.
Real advice: Practice with water and a drop of soap first. Soap behaves like milk foam. Costs nothing to waste.
Best Milk Steamer for Latte Art (Under $100)
After testing everything, the milk steamer for latte art that wins under $100 is the Secura Detachable Milk Frother.
Why:
-
Heats milk to perfect 150°F
-
Creates real microfoam (not stiff foam)
-
Dishwasher safe pitcher
-
Detachable heating element (easy cleaning)
Who should not buy it: People making more than 2 lattes at a time. The pitcher is small. Only 8 ounces.
5-Minute Morning Routine (My Actual Workflow)
Here is exactly what I do. Every day. 4 minutes and 20 seconds total.
-
0:00 – Pour milk into pitcher. Start espresso machine.
-
0:30 – Purge wand. Steam milk (30 seconds total).
-
1:00 – Wipe wand. Tap and swirl milk.
-
1:30 – Pull espresso shot.
-
2:30 – Pour art.
-
4:20 – Drink. Enjoy. Wash pitcher.
Try this tomorrow morning. Set a timer. Do not overthink.
FAQ's- Steaming Milk for Latte Art
Q: How to perfectly steam milk for latte art without a thermometer?
Stop when the pitcher feels too hot to hold for 3 seconds. That is exactly 140°F.
Q: Can I use oat milk for latte art?
Yes. Buy barista edition oat milk. Regular oat milk separates.
Q: Why does my milk have bubbles after steaming?
You stretched for too long. Next time, stretch for only 3 seconds.
Q: How long does steaming take?
30 to 45 seconds for one serving of milk.
Q: Do I need an expensive machine?
No. A $40 milk steamer works fine. Even a French press works.
The Final Thoughts
Stop watching perfect baristas on Instagram. They practiced for years. You can get good enough for a heart or a leaf in one week. Focus on the sound. Focus on the vortex.
Stop steaming too hot. That is it. That is the whole secret. Go steam some milk right now. Waste a few cups. It is just milk. It is just coffee. You will get there.
I did. And I burned milk for two months straight before I figured it out.